Sign In
You're All Set
Welcome back! You are now signed in.
You have been logged out
You have been logged out due to inactivity
Forgot Password
Please enter the email address you used to create the account. We'll send you a link that lets you create a new password.
You're All Set
Please check your email. Click the link in the email to create a new password.
Reset Password
You're All Set
Success! Your password has been updated.
Change Password
You're All Set
Success! Your password has been updated.


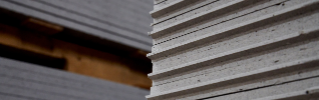
USG Surfaces and Finishes: How-To Repair Guides
Ideally, your indoor spaces will remain flawless, but you can never count out mistakes or accidental damage. From walls to corners, it’s always a good idea to stay abreast of regular drywall maintenance practices.
If you’re looking for some pointers on your finishing repair technique, be sure to use these tips to ensure your walls and corners always remain flawless.
How to Repair Large Holes with a “California Patch”
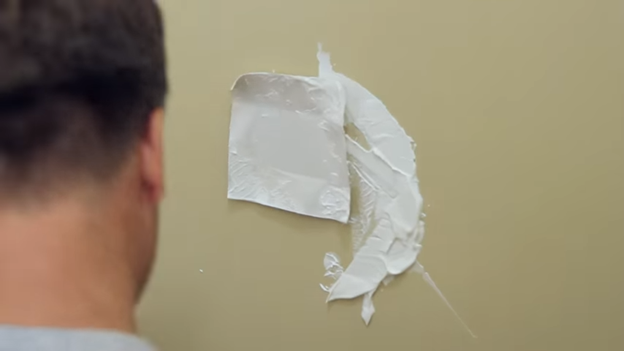
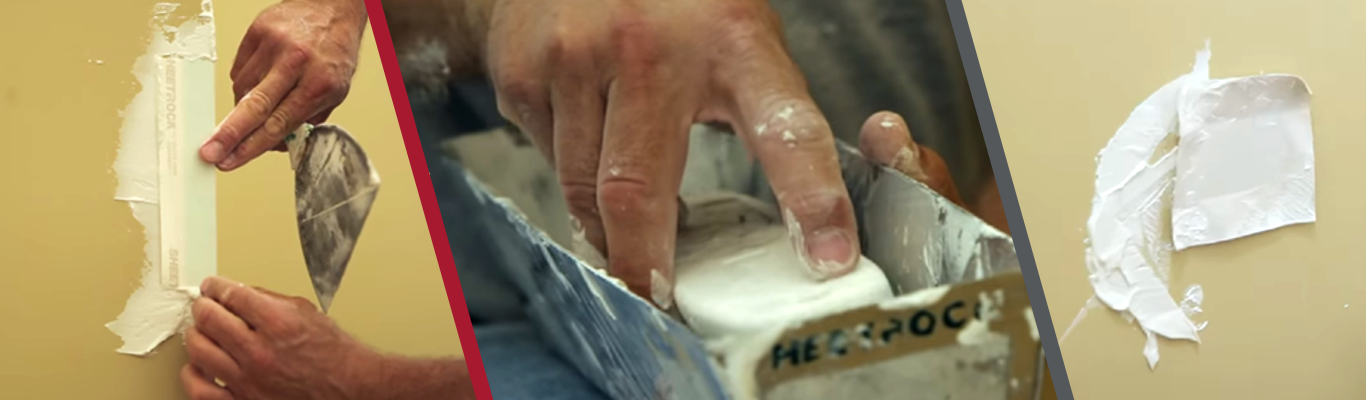
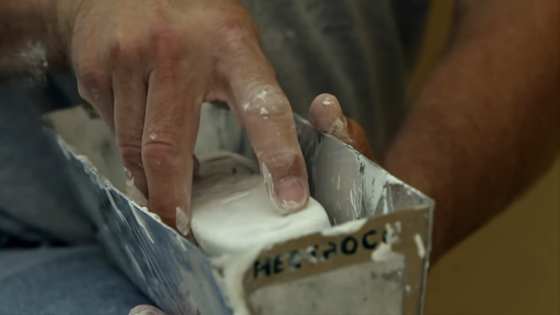
Impact damage to drywall that creates holes too big for simple touch-ups and too small for a complete repair can benefit from the no-tape patch, also known as the “California patch”. It requires no backing, and it works great for holes approximately six-by-six inches and under. It also works for 5/8 in. or layered drywall, and even lathe and plaster.
The trick behind this patch is in the paper face of the panel:
- Begin by measuring the size of the hole on the damaged wall. Utilize a scrap piece of drywall (or a patch and repair panel) to cut a square two inches larger than the size of the hole in the damaged wall
- Place the repair patch face-down. Using a utility knife, score the backside (brown paper) to meet the size of the hole you want to repair. Be careful not to score the face paper and leave one inch of extra paper on each side so that the surface paper is larger than the size of the hole
- Press the piece you've cut over the hole and mark around it with a pencil
- Using a drywall saw, cut out around your marks to create a new, larger hole in the wall
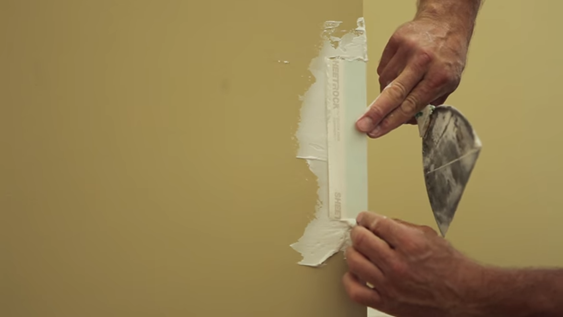
- Apply a thin layer of joint compound on the paper edges of the repair panel with a four- to six-inch taping knife
- Use just enough to ensure the paper will stick to the wall
- Insert your patch into the wall until it's flush
- Apply a thin layer of joint compound over the entire patch and allow this to dry, then sand and repeat until the wall is smooth.
How to Repair Corner Bead
Any professional installer can tell you that the only time you should be cutting corners is when it comes to repairing damaged corner bead.
If a wall was finished with paper-faced corner bead, follow these directions for an efficient repair:
- Cut out the damaged corner bead area and pry it back to remove.
- Using tin snips, cut a new piece of paper-face bead to fit the area in need of repair.
- Using a 4-6” knife, coat the exposed area with a layer joint compound; press the bead into place and seal the exposed area.
- Apply an additional layer of joint compound over the corner bead and allow to dry. Sand and repeat as needed to ensure a smooth, seamless repair.
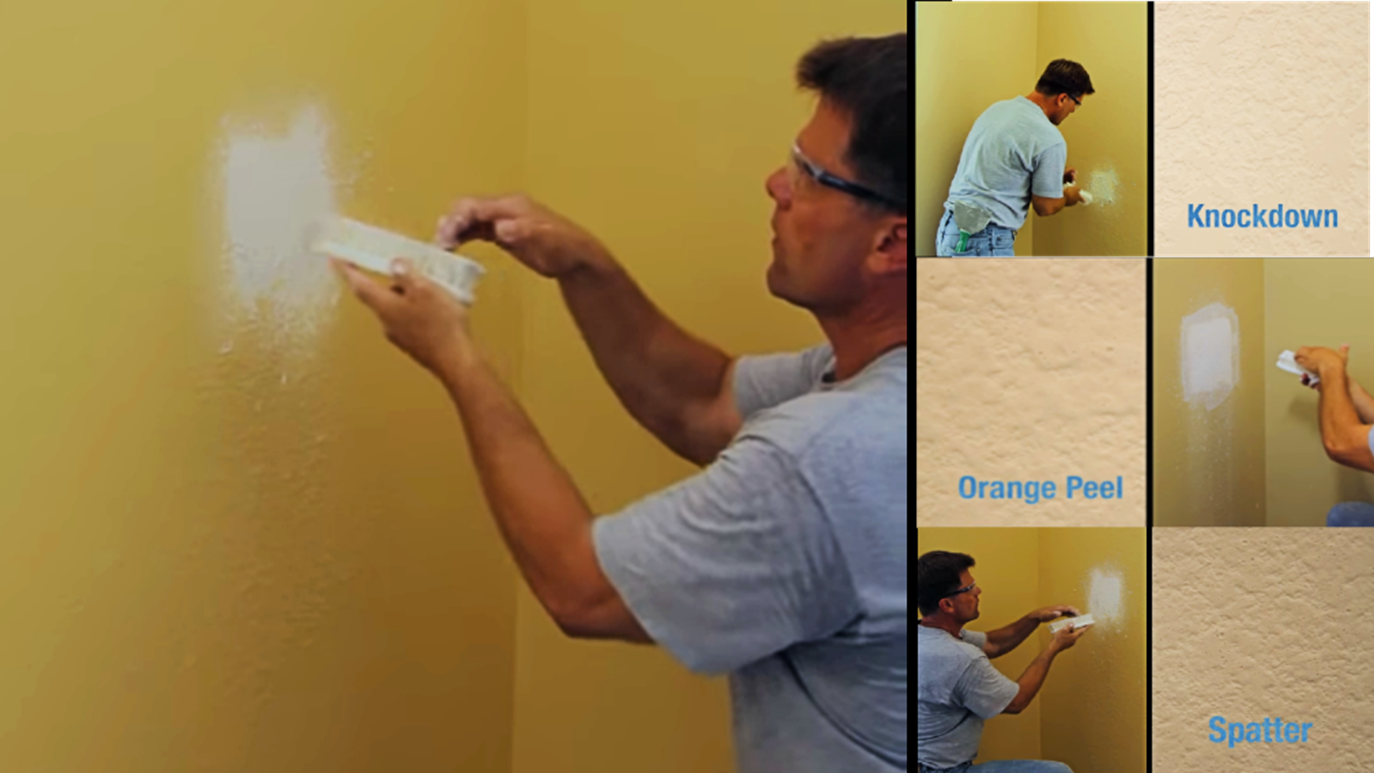
How to Repair Textured Walls Without a Hopper Gun
Professional finishers know that using a spray hopper is the easiest way to make a textured finish. However, if you don't have a hopper, or if the patch is over a very small area, you can make quick work repairing a textured wall with joint compound and a hard-bristle brush.
The brush technique is basically the same, no matter what type of texture you want to match:
- Start with a light skim coat of joint compound, extending it two inches beyond the area in need of repair. Allow to dry, lightly sand, and wipe clean.
- Mix one gallon of joint compound with a quarter gallon of water—the consistency of the joint compound should be similar to sour cream or yogurt for this technique.
- Dip the brush into the prepared compound until all the bristles are covered; shake off any excess compound
- Place the brush firmly in one hand with the bristles facing upward and position it roughly 10 inches from the wall
- Using your other hand, flick the bristles with your fingertips while moving the brush in a forward motion towards the wall.
- For knock-down textures, allow the joint compound to dry just enough and lightly skim the texture to flatten the pattern on the wall. Once completely dry, lightly sand the patch and you're ready to pain
- To achieve a spatter finish, use less compound and flick the brush in a faster motion for more medium-sized dots
- Orange peel finish also requires less compound and faster motion. However, you'll want to saturate the wall with smaller dots instead
Visual Aids
If you’re more of a visual learner, each of these repair guides can be found on USG’s YouTube account with full video, step-by-step instructions: