Sign In
You're All Set
Welcome back! You are now signed in.
You have been logged out
You have been logged out due to inactivity
Forgot Password
Please enter the email address you used to create the account. We'll send you a link that lets you create a new password.
You're All Set
Please check your email. Click the link in the email to create a new password.
Reset Password
You're All Set
Success! Your password has been updated.
Change Password
You're All Set
Success! Your password has been updated.


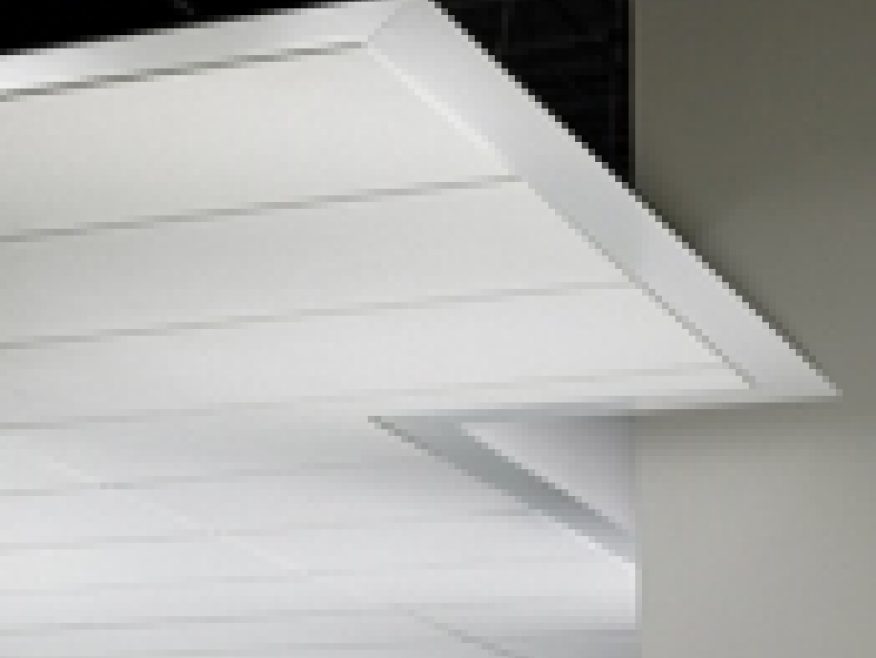
Compässo™ Slim Perimeter Trim
This dramatic suspension ceiling trim offers an artful and expressive alternative to more traditional ceiling trims.
Key Documents & Design Files


Overview
Overview
Main Features
• Creates a wide, low-profile, “picture frame” edge detail.• Dramatically frames ceiling islands.
• An innovative alternative to traditional perimeter trim.
• Extruded aluminum with durable Flat White painted or powder-coated finish.
• Precision-engineered to fit USG Donn® Brand DX®, Centricitee™ DXT™, Identitee® DXI™ and Fineline® DXF™/DXFF™ suspension systems.
• Compatible with Square (SQ), Shadowline (SL) and Fineline (FL) acoustical panel edge profiles and drywall suspension systems.
Documents & Files
Data Sheets & Specifications
| Data/Submittal Sheet (English) | PDF 535.9 KB |
| Architectural Specification (English) |
Catalogs & Brochures
| System Catalog (English) |
| Brochure (English) |
Design Files
| CAD and Revit Files (English) |
Installation & Technical Manuals
| Technical Guide (English) | PDF 901.1 KB |
| Installation Guide (English) |
SDS, Certifications & Reports
| VOC Emissions Certificate (English) | |
| SDS (English) | PDF 278.1 KB |
Warranties
| Warranties (English) | PDF 147.7 KB |
Sustainability
| VOC Emissions Certificate (English) |
| EPD (English) |
Ask a question
Our customer support team will get back to you as soon as possible.
Question Guidlines
- Questions should relate to this product specifically.
- For help with pricing, availability, or delivery, please call 800.874.4968 (Monday–Friday, 7am–6pm Central)
- All questions and answers follow USG’s Terms & Conditions.
- Your question and USG’s answer may be posted to this page in the future, but none of your personal info will be included.
q & a
-
Do I have to cut USG Compässo™ Trim to fit at the job site?
No. USG Compässo™ Trim is pre-engineered in the factory for fast installation and repeatable quality.
-
Does USG Compässo™ Trim come in heights greater than 8 inches?
Yes. USG Compässo™ Trim is available in 2 inches, 4 inches, 6 inches, 8 inches and 10 inches.
-
How is the load test data collected for ceiling grid?
Load data and spans are based on simple span tests in accordance with ASTM C635, with a deflection limitation of L/360.
-
What are the best grids to use in an area that is accessible to moisture?
The best grids to use in an area accessible to moisture are the Donn® AX™ Acoustical Suspension System or the Donn® ZXLA™ Acoustical Suspension System.
-
How do you remove cross tees without a tool?
To remove a cross tee, push up on the main tee with your thumbs (where the cross tee is connected) and rotate it until the cross tee pops up and out of the slot.
-
How much force is required to insert a cross tee with a quick release clip?
It takes 12-14 pounds of force to install a cross tee.
-
What gauge hanger wire is needed to install grid?
For residential installation 18-gauge wire is required. For commercial installation 12-gauge wire is required.
-
What is the warranty for a system, that uses USG tile and grid together?
There is a lifetime warranty on any ceiling system that is used in conjunction with our tile and grid. All grid is lifetime when used with USG tile, however not all tile is lifetime when used with USG grid. See complete warranty for details.
-
What is the standard warranty of grid?
Ten years. See complete warranty for details.
-
How is the spacing of wire hangers determined for fire-rated assemblies?
All systems must be installed and tested in compliance with ASTM C636.
-
How far apart should hanger wires be spaced when installing grid?
For commercial installations, hanger wires should be spaced between 4' on center along the main tees.
-
When installing grid, what is the minimum clearance needed from the overhead structure?
Minimum clearance is 4", which allows ceiling tiles to be inserted and removed freely.
-
Which grid is the best grid to use in a Clean Room environment?
USG Donn® Brand CE™ Acoustical Suspension System is the best grid for a Clean Room environment.
-
How do you take main tees apart without a tool?
Facing the main tee splice place your left hand near the left side of the splice and right hand near the right side of the splice. Using a shearing motion, push with your left hand and pull with your right hand. This disconnects the main tee splice. Be sure to straighten the end tabs before attempting to reconnect.
-
Have a question?
Ask USGLet us do the research. We'll get back to you as quickly as we can.
-
Need help right away?
Call our Technical Support team at 800-874-4968 (Monday-Friday, 7:30 am - 4 pm Central).


